Skip to content

Clearance 50% off

Clearance 50% off

Let's learn how to turn loops!

If you’re making jewellery with beads and wire, learning how to turn neat, secure loops is an essential technique. Loops can be used to connect beads, attach charms and create professional-looking links for earrings, bracelets and necklaces.

Loops? What kind of loop?

A loop is created at the end of a piece of jewellery wire or a head pin to enable you to connect to other components or even further loops. The basic steps are the wire is trimmed, bent and a loop formed using round-nose pliers. When making a wrapped loop, the end is wrapped around the stem of the wire. This creates a secure connection point for attaching other jewellery components.

What do I need?

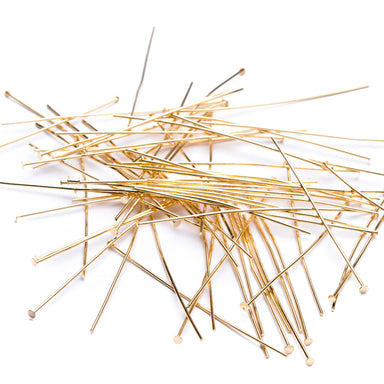
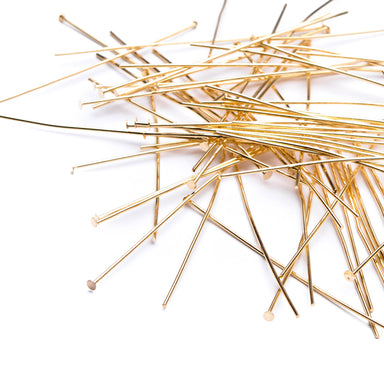
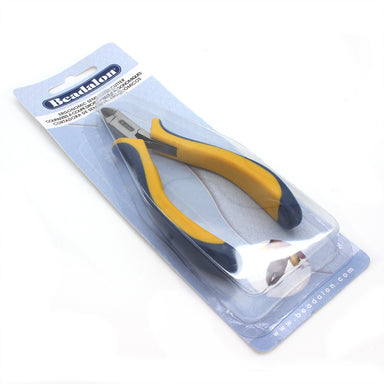
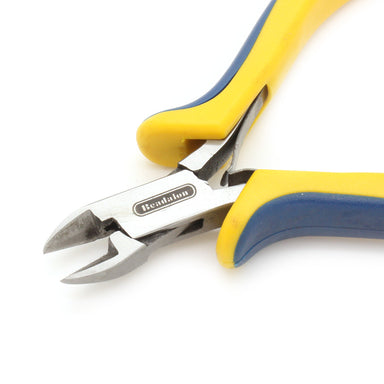
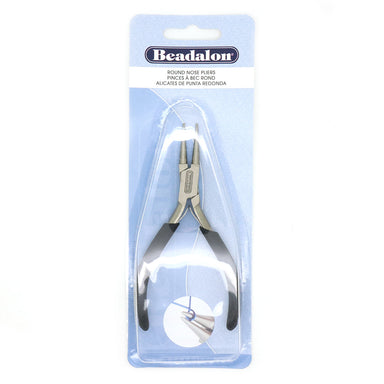
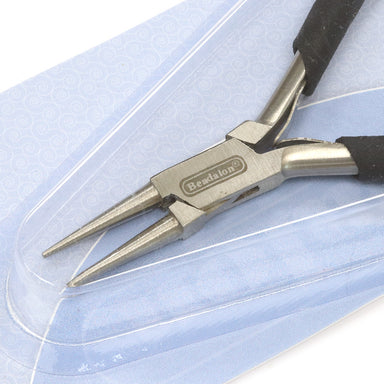
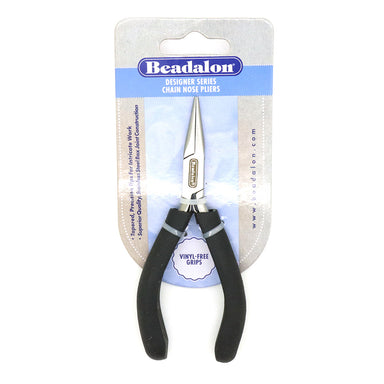
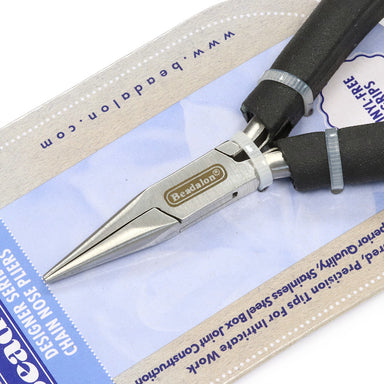
The great thing is that if you already are making jewellery you may already have the tools you need. If not then these tools are quickly going to become your favourite items to reach for. You'll need a pair (or 2 pairs for wrapped loops) of chain nosed and round nosed pliers and a pair of wire cutters. A pair of nylon jaw pliers are useful for straightening wire. Then most importantly wire, we won't get very far with our loops without wire. You can use headpins, eyepins or a jewellery wire if you wish to make your own components from scratch.
Turn a basic loop

Step 1

Thread your chosen bead onto your pin and snug this up to the head or loop of the pin. Trim the wire using your cutters to roughly 1cm.
Turn a basic loop

Step 2

Grip the wire with your chain noses pliers and bend to a right angle directly above the bead.
Turn a basic loop

Step 3

Grip the tip of the wire with your round nosed pliers and roll the pliers away from you to curl the wire for a neat loop. Make the movement smooth rather than a sharp movement. Remove the pliers and check your loop making small adjustments to perfect the loop.
Wrapped Loop

Step 1

Thread on a bead onto a head pin, eye pin or wire. Take your chain nosed pliers, position them so they sit right next to the top of your bead. I use the tips of the chain nosed pliers. The space the pliers take up on the wire will be the area that has wire wrapped around it. If you want a longer length of wire wrapping, move your wire further away from the tip of the pliers.
Wrapped Loop

Step 2

Position your round nosed pliers at the bend you just made with the wire facing towards you. Grip the end with your chain nosed pliers and lift the wire up and over the round nosed pliers, then down and away from you to form a partial loop.
Wrapped Loop

Step 3

Reposition your round nosed pliers so the jaw is inside the loop you just made. Keep the wire end facing away from you. Grip the end with your chain nosed pliers an pull the wire under the round nosed plier and towards you to form a complete loop. Take your round nosed pliers out and make any necessary adjustments to centralise the loop.
Wrapped Loop

Step 4

Open the loop slightly as you would a jump ring and thread on any component you wish to add your wrapped loop too. Once the wrapping is complete you will not be able to add anything without the use of a jump ring. Adding the component now makes for a more secure connection.
Wrapped Loop

Step 5

Take one pair of chain nosed pliers to hold the loop, position the pliers so they are parallel to the straight part of the wire, and your component is tucked out of the way at the top of the loop. Hold the end of the wire with your other pair of chain nosed pliers, wrap the wire over and around itself towards you. Continue to wrap the wire around itself, working down towards to bead.
Wrapped Loop

Step 6

Using side cutters, trim off the excess wire, then use chain nosed pliers to press the end of the wire so it sits neatly.

Tips

How to Make Consistent Loops

The secret to professional-looking jewellery is often consistency. Here are a few tips that can help you improve your loops:

Use the same position on your pliers

The further down the jaws of your round-nose pliers you work, the larger the loop will be. Pick a position and use it consistently, particularly when making matching earrings. You can always mark the jaws with permanent marker to ensure you use the same part of the jaw.

Bend the wire close to the bead

A large gap between the bead and your loop can make the finished component look untidy. Keep your initial bend close to the top of the bead.

Don’t grip too tightly

Your pliers need to hold the wire securely, but squeezing too hard can leave marks on some types of wire.

Practise with scrap wire

Before starting your jewellery project, practise making a few loops with leftover pieces of wire. This is a great way to get comfortable with the movement and find the loop size you prefer. Keeping your offcuts from making loops is great for practise wire.

Check your finished loop

Before using your component, check that the loop is fully closed and that there are no sharp wire ends. A properly finished loop should be secure and comfortable to wear. Make sure the loop is centred above the bead.


Once you can confidently make wire loops, you can create all kinds of jewellery designs. Use them to connect beaded links, make earrings, attach charms or build more intricate necklaces and bracelets.

It’s one of those small jewellery-making skills that opens up a huge range of creative possibilities.

So grab some wire, choose a few favourite beads and start practising. Your first loops may not be perfect—and that’s absolutely fine. With a little repetition, you’ll soon be creating neat, professional-looking loops with ease.

What will you make?

Check out our free instructions and put your loop making skills to the test